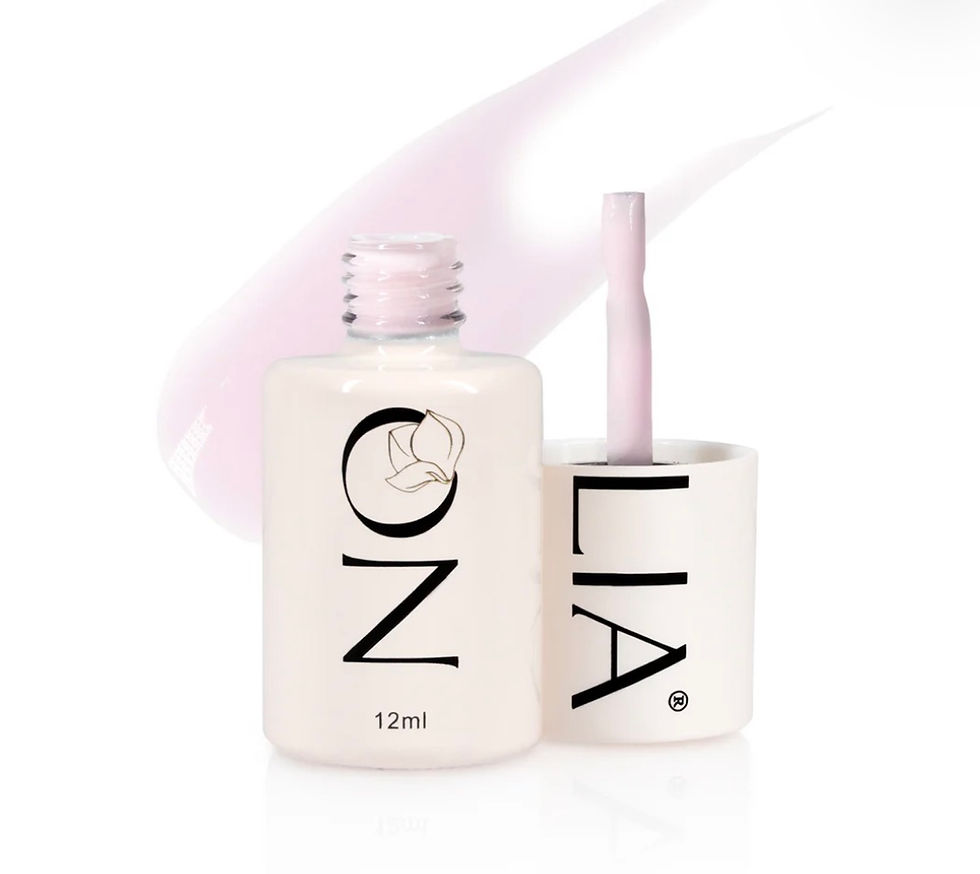
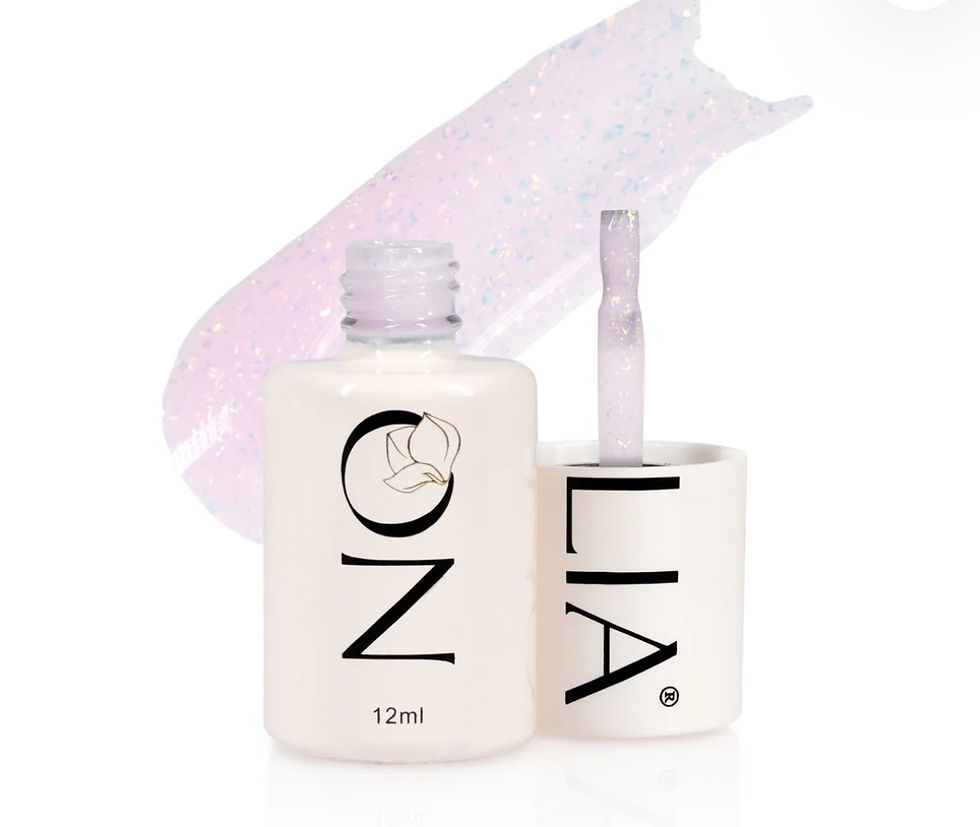
NARTEX 0363 WRAPS
Today the WRAPS have changed. They have become more elastic, thinner and more comfortable to use. They don't need to be heated. Thanks to the improved sticky base, they can be applied both on a bare buffed nail and on the base.
NARTex film is obedient, comfortable and stretchable. No special fixtures needed.
The advantage of the film is that the nail plate is not damaged, due to the fact that the film is absolutely harmless.
Advantages of this coating: Films are a thin coating that does not create volume on the nails and does not weigh them down. The adhesive base resembles the glue of a patch for the skin and does not injure the nail.
The thinness of the coating does not contribute to the ingrowth of corners.
Film manicure is the most harmless coating for nails today.
The speed of the manicure or pedicure will please. On average, installation on one finger will take about 2 minutes.
STEP-BY-STEP APPLICATION
Buff the nail plate/base and wipe with degreaser
1. 1. We prepare new films for work. To do this, we remove excess paper outside the print area, leaving only the films themselves, which will go on the nails.
2. 2. We hook the edge of the sheet with an orange stick, the adhesive part easily leaves if you pull on it.
3. 3. After removing the edges, the films and their size are clearly visible, so it's easiest to take measurements and choose the right one for the nail.
4. 4. We measure the client's nail and select the film of the most suitable size. It is best to measure with a ruler (comes in a set).
5. 5. We catch the film from the tip with an orange stick and set it on the stick so that it is exactly in the middle of the free edge of the film.
6. 6. We create an arch for easy installation on the nail and, having pulled the rollers, put the film as close as possible to the cuticle area.
7. 7. With a finger or a silicone pencil, carefully glue the film at the cuticle, after which, pulling the middle of the free edge, we set it exactly along the nail.
8. 8. We smooth out the middle first, then from the sides.
9. 9. The remaining length of the film, which hangs on the tip of the nail, is directed downward perpendicularly.
10. 10. We remove the remnants of the film. We carefully cut off the abrasive with a 240 file, starting from the sides we move to the middle, we perform movements in one direction until the excess film is completely removed.
11. 11. It is not necessary to cover with a top, but for additional strengthening is possible


